HD WiFi Camera

Insteon Camera - invalid params

Symptoms

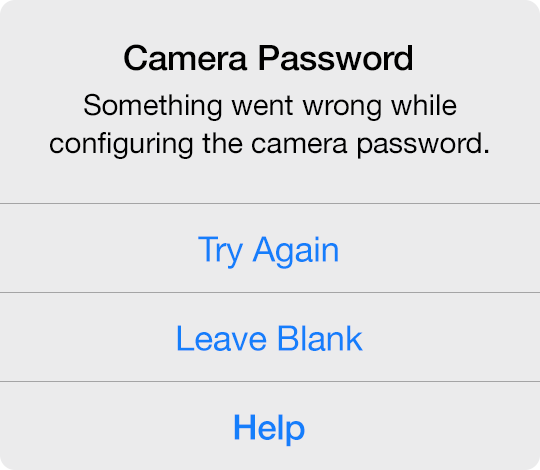
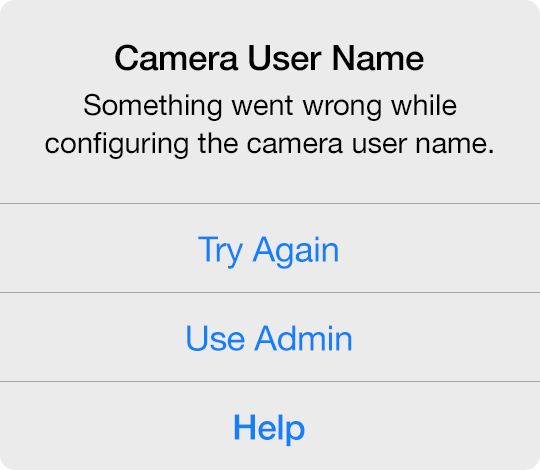
The Insteon Camera is generating the following error anytime you attempt to save any changes:

invalid params

Causes

The error is cause by invalid characters in the Username or Password of the camera
! @ # $ % ^ & * ( ) - +

Resolution

You will need to factory reset the camera and begin setup from the beginning.  You are not able to change the username or password in the camera, as the existing login information is invalid.
 

Indoor Camera Factory Rest Steps:

Step 1: On the bottom of the camera locate the hole in the bottom of the camera marked RESET.

Step 2: Using a paperclip or similar object to press an hold the RESET button for 30 seconds. 

Step 3: The camera will start to pan and tilt within 30 seconds of the reset.

Step 4 Wait 90 seconds before beginning again.


Outdoor Camera Factory Reset Steps:

Step 1: On the cable bundle, locate the reset button

Step 2: Press and hold the reset button for 30 seconds then let go.

Step 4: Wait 90 seconds before beginning again.

Insteon SD WiFi Camera Setup Videos

The links below will take you to specific video tutorials that will help you set up your new SD Insteon wireless IP camera.


Optional Camera steps:


The steps shown in these videos will work for either the Indoor Wireless IP Camera or the Outdoor Wireless IP Camera.


If you are not using your Insteon camera with the Insteon Hub, we recommend the following third party apps:

iOS -
CamViewer, Foscam Pro, Live Cams Pro, OWLR
Android -
IP CamViewer, TinyCam Monitor, NetEye Camera, OWLR
Windows Phone -
IP Cam Controller

Something Went Wrong While Configuring Your Camera


somethings-wrong.png
 

When configuring an Insteon Wi-Fi Camera, you may occasionally encounter a message informing you that something went wrong while configuring your camera and to ensure that the ethernet cable is connected. There are several reasons why this may occur.

  • Your Wi-Fi connection is offline

  • Your Wi-Fi Camera was unplugged from ethernet or power


Basic Troubleshooting

  1. Ensure that your Wi-Fi Camera is connected to a working power outlet and that the ethernet cable is firmly seated, even if you intend to use your camera with WI-Fi. It may be helpful to unplug and reinsert the ethernet cable.

  2. Try restarting your Insteon Wi-Fi Camera by unplugging its power cord. Wait about 30 seconds and then reconnect your camera to power.

  3. Ensure that your smartphone or tablet is connected to the same Wi-Fi Network as your Insteon Wi-Fi Camera.

  4. Confirm that your internet router and cable or DSL modem are connected to power and turned on. Learn how to identify your router and cable or DSL modem.

  5. Check that your Wi-Fi router is working by attempting to browse a website using another device or computer in your home.

  6. Try restarting your router and cable or DSL modem.


Something Went Wrong While Configuring the Camera Password


camera-password.png
 

When configuring an Insteon Wi-Fi Camera, you may occasionally encounter a message informing you that something went wrong while configuring the camera password. There are several reasons why this may occur.

  • The password was shorter than 1 character or longer than 12 characters

  • The password included characters other than numbers and letters

  • The password included spaces

The Insteon app should properly restrict entry of passwords such that they do not contain any unsupported or invalid characters. If you are unable to resolve the password following the restrictions above, you can tap Leave Blank to proceed without a camera password. After setup is complete, you can change the password from Edit Camera.


Changing the Camera Password from Edit Camera

Step 1

From Edit Camera, scroll down to Network Settings and tap Password

tap-password.png

Step 2

Replace the blank password with your desired camera password. Ensure your password meets the following criteria:

  • Between 1 and 12 characters long

  • Letters and numbers only

  • No spaces

  • Case sensitive

enter-password.png

Step 3

Tap Done

The Insteon app will update your camera's password and attempt to reconnect.

udpating.png
 

Basic Troubleshooting

If, after changing your camera's password, the Insteon app is unable to connect to your camera, attempt setup of your camera again.

  • Navigate to Edit Camera, scroll to the bottom and tap Delete Camera

  • Add a Device and choose Camera

  • In the list of cameras, your camera should appear as already configured

  • Enter the user name and new password chosen in step 2 above. If you receive an error informing you that the user name or password is incorrect, try using a blank password as it's possible the camera password was not updated.

  • If you are still unable to connect to your camera, follow the steps in this article to factory reset your camera and start again.


Something Went Wrong While Configuring the Camera User Name


camera-user-name.png
 

When configuring an Insteon Wi-Fi Camera, you may occasionally encounter a message informing you that something went wrong while configuring the camera user name. There are several reasons why this may occur.

  • The user name was shorter than 1 character or longer than 12 characters
  • The user name included characters other than numbers and letters
  • The user name included spaces

The Insteon app should properly restrict entry of user names such that they do not contain any unsupported or invalid characters. If you are unable to resolve the user name adhering to the restrictions above, you can tap Use Admin to use the default camera user name "admin" and complete setup. After setup is complete, you can change the user name from Edit Camera.


Changing the Camera User Name from Edit Camera

Step 1

From Edit Camera, scroll down to Network Settings and tap Username.

tap-username.png

Step 2

Replace admin with your desired camera user name. Ensure your user name meets the following criteria:

  • Between 1 and 12 characters long
  • Letters and numbers only
  • No spaces
  • Case sensitive
dannycam.png

Step 3

Tap Done

The Insteon app will update your camera's user name and attempt to reconnect.

tap-done.png
 

Basic Troubleshooting

If, after changing your camera's user name, the Insteon app is unable to connect to your camera, attempt setup of your camera again.

  • Navigate to Edit Camera, scroll to the bottom and tap Delete Camera.
  • Add a Device and choose Camera
  • In the list of cameras, your camera should appear as already configured.
  • Enter the new user name chosen in step 2 above. If you receive an error informing you that the user name or password is incorrect, try using the user name "admin" as it's possible the camera user name was not updated.
  • If you are still unable to connect to your camera, follow the steps in this article to factory reset your camera and start again.


Installing the HD WiFi Camera Browser Plug-in (Internet Explorer)


A plug-in is required to view your HD WiFi Camera video in Internet Explorer. Use this article for instructions on how to install the HD WiFi Camera browser plug-in on Internet Explorer.


1. Click Install in the download alert that appears at the bottom of the browser window

2. If presented with an alert about User Account Control, Click Yes

3. Follow the on-screen instructions to install the WiFi Camera Setup Plug-in.


Installing the HD WiFi Camera Browser Plug-in (Firefox)


A plug-in is required to view your HD WiFi Camera video in Firefox. Use this article for instructions on how to install the HD WiFi Camera browser plug-in on Firefox.


1. Click Allow in the plugin alert that appears across the top of the browser window

2. Click Allow and Remember


Installing the HD WiFi Camera Browser (Chrome)


A plug-in is required to view your HD WiFi Camera video in Chrome. Use this article for instructions on how to install the HD WiFi Camera browser plug-in on Chrome.


1. Click the Plugins are not found, click me to download link above the login frame

2. Click Keep

3. Click IPCWebComponents.exe

4. If presented with an alert about User Account Control, Click Yes

5. Follow the on-screen instructions to install the WiFi Camera Setup Plug-in.


Installing the HD WiFi Camera Browser Plug-in (Safari)


A plug-in is required to view your HD WiFi Camera video in Safari. Use this article for instructions on how to install the HD WiFi Camera browser plug-in on Safari.


1. Click the Plugins are not found, Click me to download link above the login frame

2. Click the Downloads button in the upper right corner of Safari and double-click Plugins.pkg

3. Follow the on-screen instructions to install the WiFi Camera Setup Plug-in.

4. Return to Safari and click Trust


Plugins.pkg Can't Be Opened Because It is From an Unidentified Developer

If your Mac is running OS X 10.7.5 or later, you may encounter an alert informing you that plugins.pkg can't be opened because it is from an unidentified developer. 


1. Dismiss the alert by clicking OK

2. Click the Downloads button in the upper right corner of Safari

3. Control-click Plugins.pkg and select Open

4. In the subsequent alert, click Open

5. Follow the on-screen instructions to install the WiFi Camera Safari Plugin

6. Return to Safari and click Trust