With Insteon+ and Hub Pro, you can control both Insteon-native devices as well as HomeKit-compatible devices. Follow these steps to add an Insteon device to Insteon+ using the set button.
1. Press and hold the set button on the back of Hub Pro until Hub Pro beeps.

2. Press and hold the set button on your Insteon device until it double beeps or its LED begins blinking. If adding Insteon bulbs, remove power and re-apply power. Bulbs will enter linking mode on power up.

3. Repeat the process in reverse, starting with the new Insteon device.

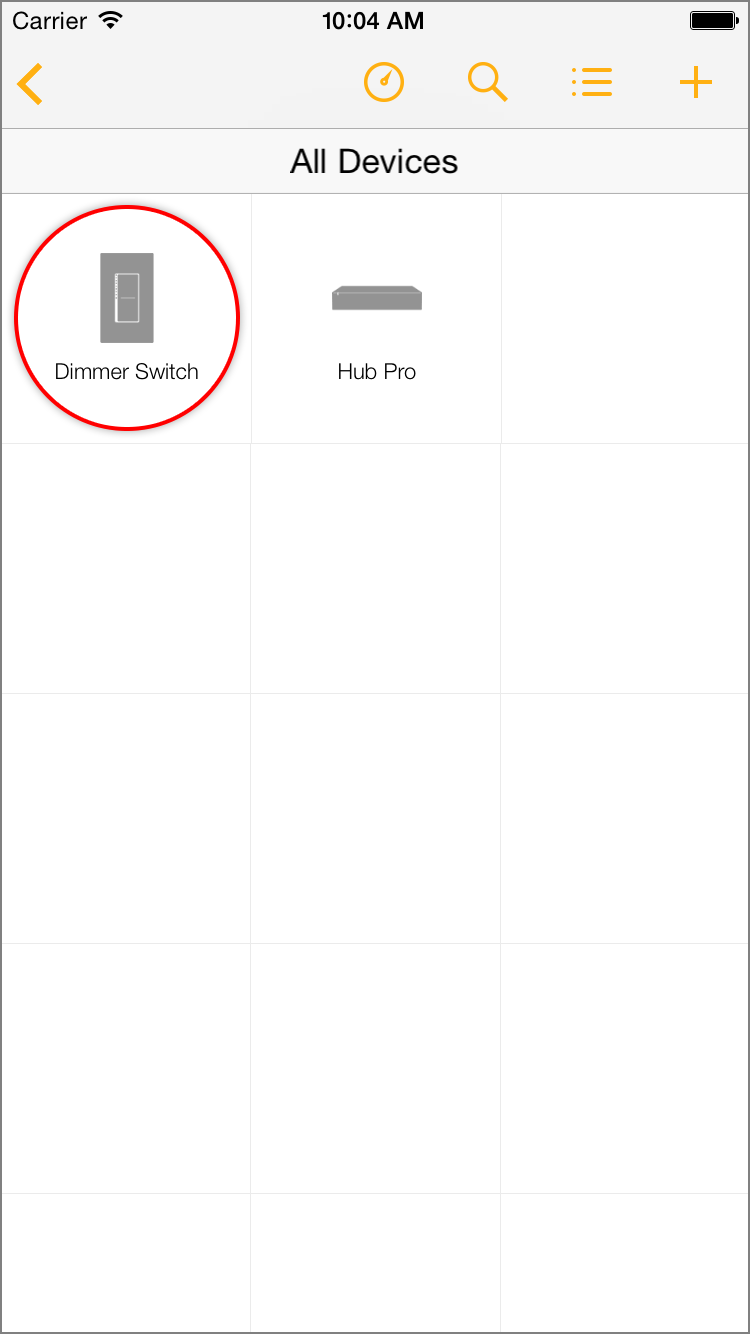
4. Navigate to All Devices. Your new Insteon device should appear with a generic icon and name. If your device does not appear, force-close the Insteon+ app and restart.
5. Tap the Configure button in the upper right corner to open the Configure your Home sheet.

6. Tap Edit Devices.

7. Select your new Insteon device from the list of devices.

8. Finish up by giving your device a name and selecting an icon.


